
Modgen System Configuration
Contents
In order to develop models using Modgen, your PC must have the following software installed:
- Microsoft Visual Studio 2015 Community, Professional or Enterprise Edition; or
- Microsoft Visual Studio 2017 Community, Professional or Enterprise Edition
Your PC must therefore meet the minimum requirements for the version of Visual Studio you will be using, such as running Windows 7 SP1 or later. Modgen does not add any additional requirements above those of Visual Studio.
The next sections give step by step instructions on installing and configuring Visual Studio for Modgen use.
Please note the following:
- Both versions of Visual Studio can be installed on the same PC, and Modgen can be used with either.
- Modgen must be installed after Visual Studio.
- The Modgen installer takes care of installing all other non-Visual Studio dependencies needed for model development.
Installing Visual Studio 2015
- Run the installation program (vs_community.exe, vs_professional.exe or vs_enterprise.exe)
- Select Custom installation type and click Next:

- Select Common Tools for Visual C++ and Microsoft Foundation Classes for C++ under Programming Languages, Visual C++
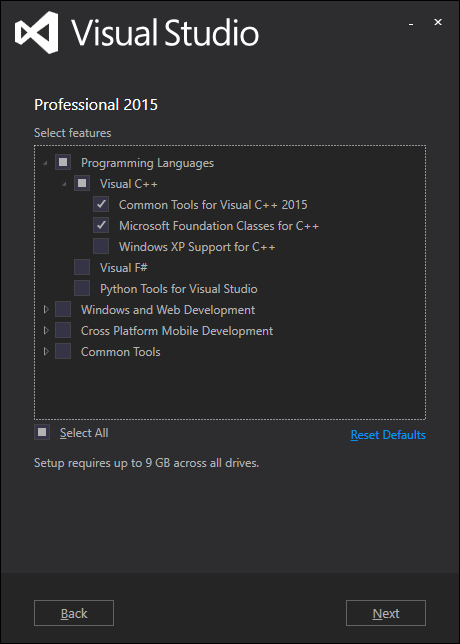
- Click Next to install Visual Studio 2015
Installing Visual Studio 2017
- Run the installation program (vs_community.exe, vs_professional.exe or vs_enterprise.exe)
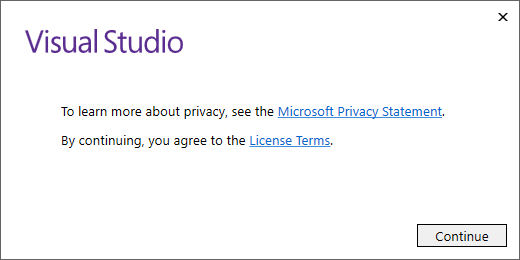
- Click Continue:
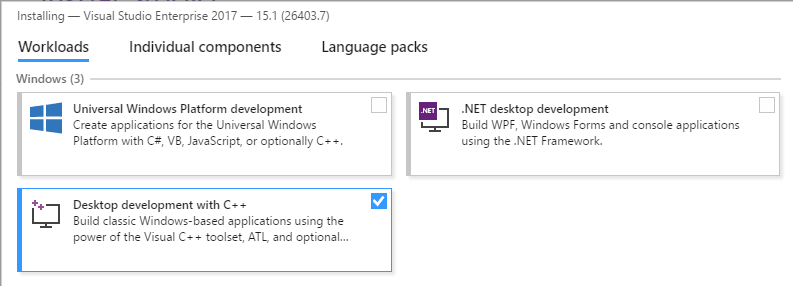
- Select the Desktop development with C++ Workload:
- In the Summary sidebar in the right-hand side of the window, select MFC and ATL support (x86 and x64) and Windows 8.1 SDK with UCRT SDK:
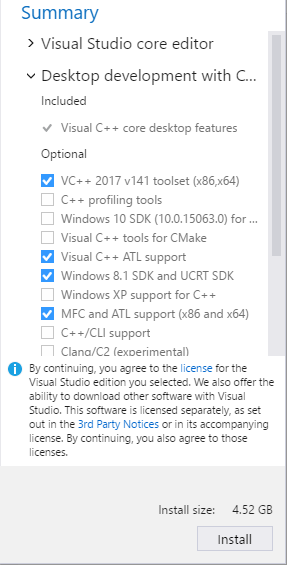
- Click Install to install Visual Studio 2017.
Enabling Syntax Highlighting
These steps apply to both Visual Studio 2015 and 2017. Note that the syntax highlighting will be applied to files opened after following the steps below. Closing and re-opening existing editor windows might be required.
- Open Visual Studio
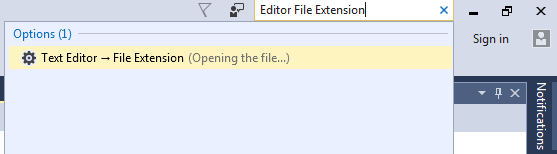
- In the Quick Launch box at the top-right (CTRL-Q), type Editor File Extension and press Enter:
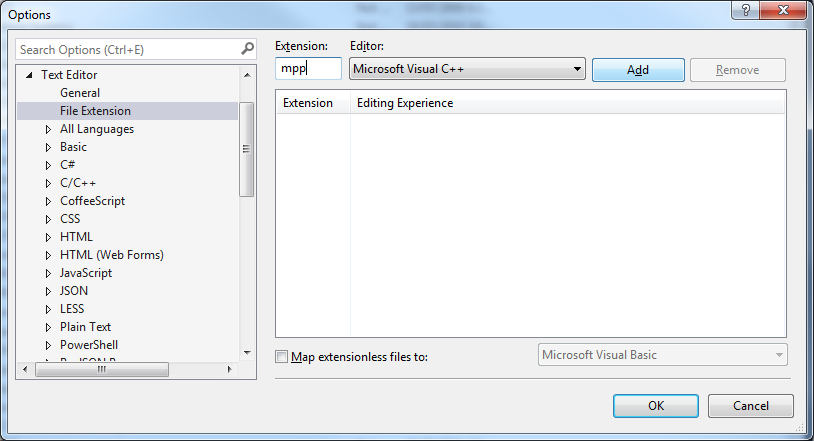
- Type mpp in the Extension box, select Microsoft Visual C++ in the Editor drop down and click Add:
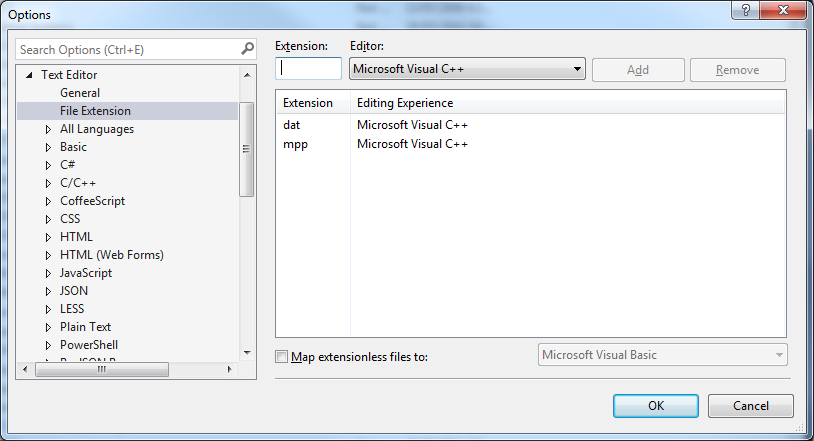
- Do the same as Step 3 for the dat extension. The resulting window should look like this:
- If you would like to remove the red error underlining that is shown in the Modgen language areas of files, type Intellisense in the search box, and select the C/C++ Advanced page:
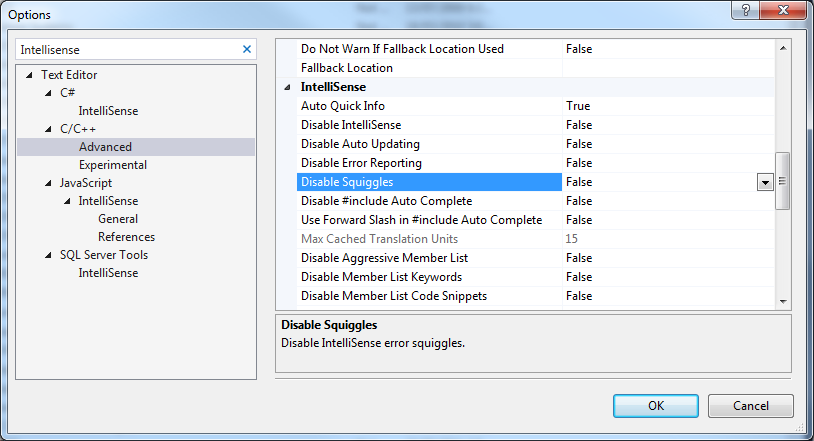
- You can disable the squiggles by setting the Disable Squiggles option to True.
- Date modified: